Knife Skills for Beginners
I have a saying that everyone should be a caterer for a week. The reason is simple. In catering, time is money, and there’s no time to waste. Whether making a grocery list, schlepping the groceries or washing dishes, speed is important in the food biz. The most critical of these chores is the chopping of vegetables, or food prep, because cooking from scratch requires lots and lots of vegetable chopping. After dicing 10 pounds of onions for a catering job, you get pretty good at dicing onions. Because you do it often, you can do it faster, easier and with less stress… which is why everyone should be a caterer for a week.
One of the biggest reasons people do not cook is a lack of time. By my reasoning, if you can shave the time it takes to chop the vegetables for a pot of soup, you’re more likely to make soup and less likely to order takeout for dinner, right? So, speeding up prep time and boning up on your knife skills is the first step to actually creating the time to make healthier and more delicious homemade meals. Once you know how to dice an onion or a carrot you can dice just about anything. And once you get the hang of it, you develop speed. And once you develop speed you can prep food faster, getting meals on the table easier and sooner.
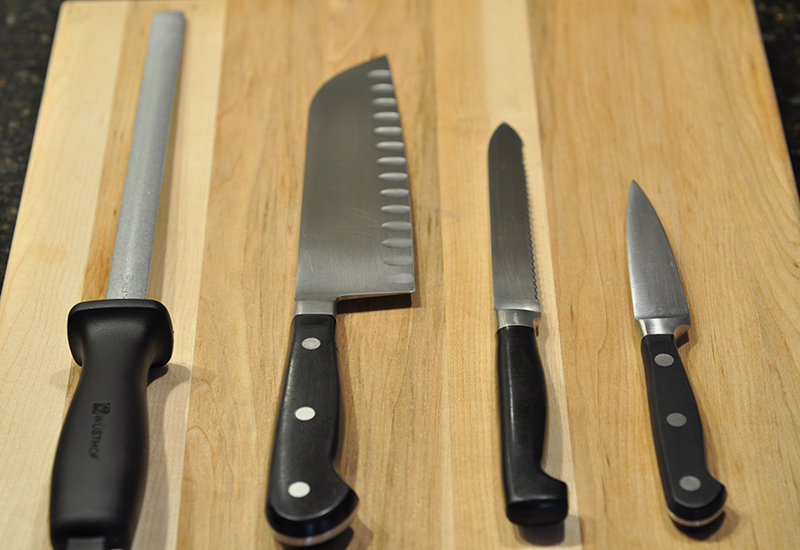
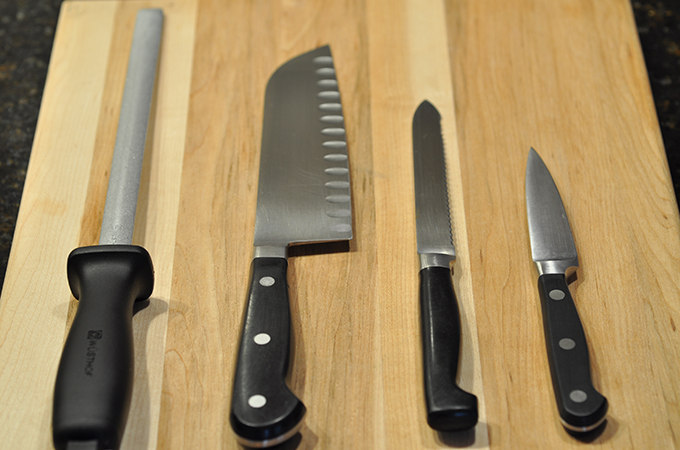
It all begins with the knives and I am a firm believer that kitchen knives are the most important tool in your kitchen. In my experience, there are three basic knives that make a kitchen hum; an 8-inch chef’s knife, such as a Santoku (an Asian style chef knife), a 4-inch paring knife and a 6-inch serrated knife will cover most jobs.
I use the 8-inch chef’s knife 90 percent of the time for cutting all manner of vegetables. The paring knife is for small jobs like peeling an apple or trimming out the cores. The serrated knife is for cutting tomatoes or slicing bread. It’s easy to find inexpensive paring and bread knives, but you will find more joy in the process if you invest in a good chef’s knife. Better knives will be heavier and easier to control and the edge will stay sharper longer. Go to a cookware store and explore your options. Ask to hold the knives in the case and see how they feel in your hand then choose what is most comfortable for you.
Along with the knives you will need a steel or other type of knife honing tool. This tool is essential to keeping your knives sharp. I usually hone my knife on the steel when I feel it becoming a bit dull, probably a few times a week. To hone your knife, plant the tip of the steel into a cutting board to anchor it and slide the knife at a 15-degree angle from the butt end of the knife to the tip, down the steel. You will feel a little grab and that is the steel shaving the microscopic rough edges of the knife smooth. Do this about 5 or 6 times on each side of the knife. The steel sharpens it right up but I also have my knives sharpened professionally once a year to keep them in tip top shape. The serrated knife cannot be honed on the steel. I have honestly had the same serrated knives for 30 years and they are still sharp, so you really shouldn’t have to worry about them. Remember to always wash your knives by hand as they can become dull or even damaged by the heat and action in the dishwasher. It’s a bad idea to leave them in the sink where you may forget them, reach in and cut yourself. Ouch!
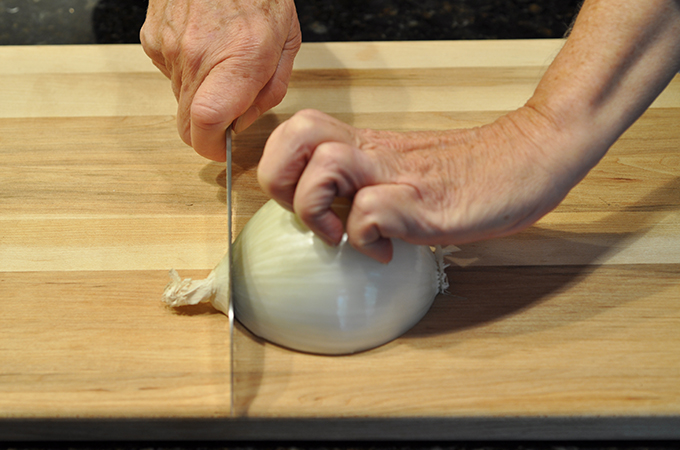
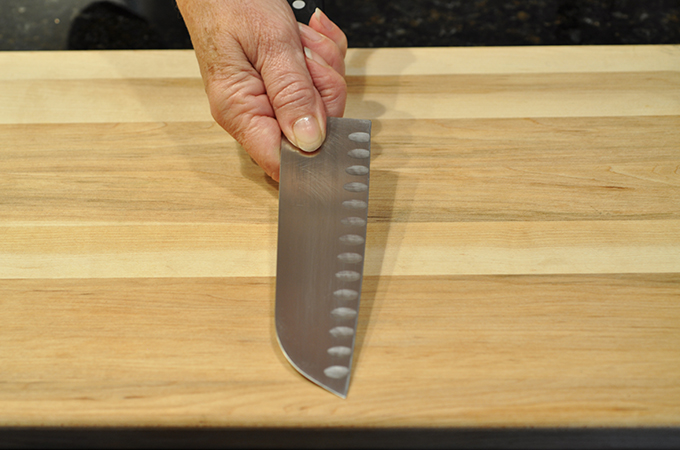
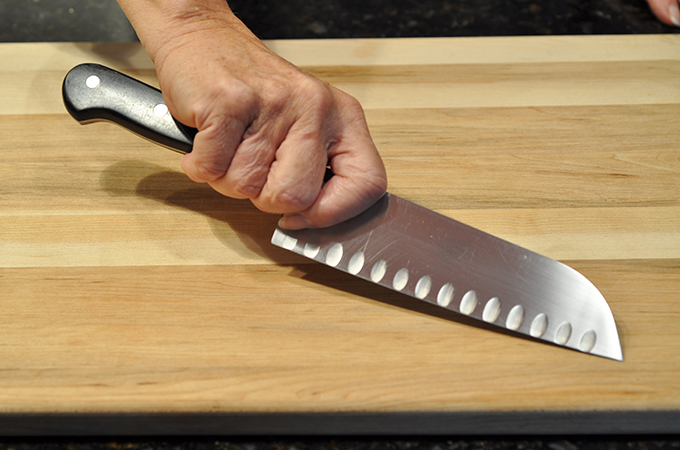
In my experience most people hold a chef’s knife incorrectly. They grip the knife too far back on the handle with their index finger on top of the knife for stability. A better way is to choke up on the handle closer to the blade, keeping the thumb and index finger on the handle where it meets the blade. Grip the base of the blade with your thumb on one side and your index finger on the other. You will have much better control when holding the knife this way. A good grip is the first and one of the most important steps to improved knife skills.
Because most vegetables are round, the next step is to cut the vegetable so that it lies stable and flat. That way the vegetable doesn’t roll around and you have a firmer grasp making it easier and safer to cut. When you are ready to slice, plant the tip of the knife on the cutting board and push the knife through the vegetable as you pressure the knife down, cutting with the back 30% of the knife. The back of the knife, closer to your hand, is the most powerful real estate on the knife so cutting in this zone is easier. Bring the knife back and push it again through the vegetable, keeping the tip anchored to the board. This way you always know where the knife is going and it’s not flopping around. Use your weight and the motion to your advantage. The knife should move in a sawing motion, lifting the handle up and down. Remember, easy does it and take it slow until you get the hang of it.
The fingers on your other hand should be curled around the food like a claw, keeping your fingertips away from the edge of the knife. It can be awkward in the beginning but you get better at it with practice. Your knuckles should guide the side of the knife. It sounds crazy, I know, but it’s the best way I know to avoid a cut.