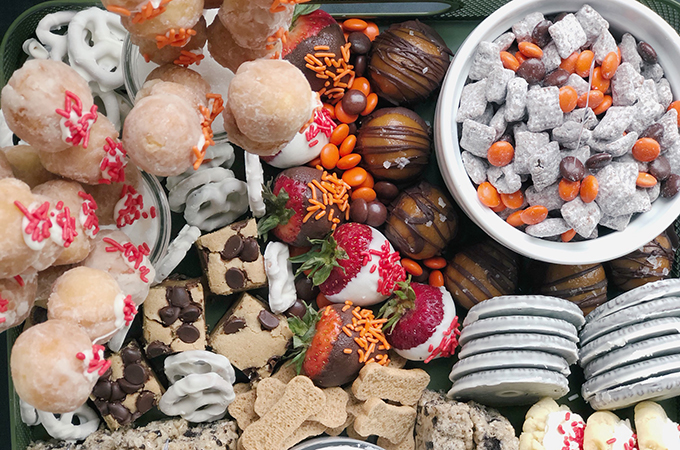
Ohio Football Dessert Board
The following recipe and photography for this post were provided by local blogger Abby Thome of The Thome Home.
After years of hosting parties and experimenting with different recipes and themes, there’s one approach to entertaining a hungry crowd that has never failed: a sample platter of food that guests can snack on as they mingle.
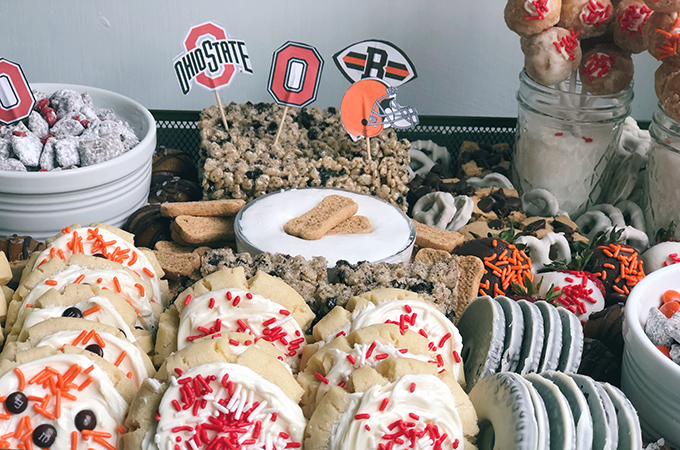
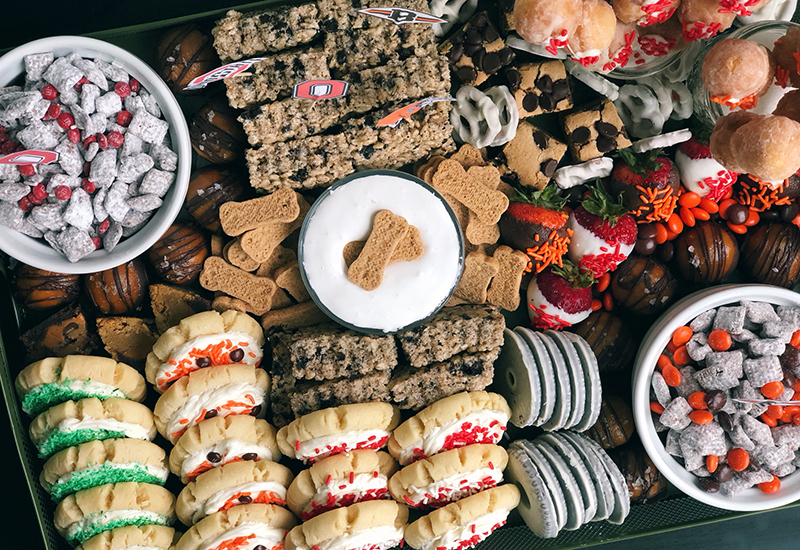
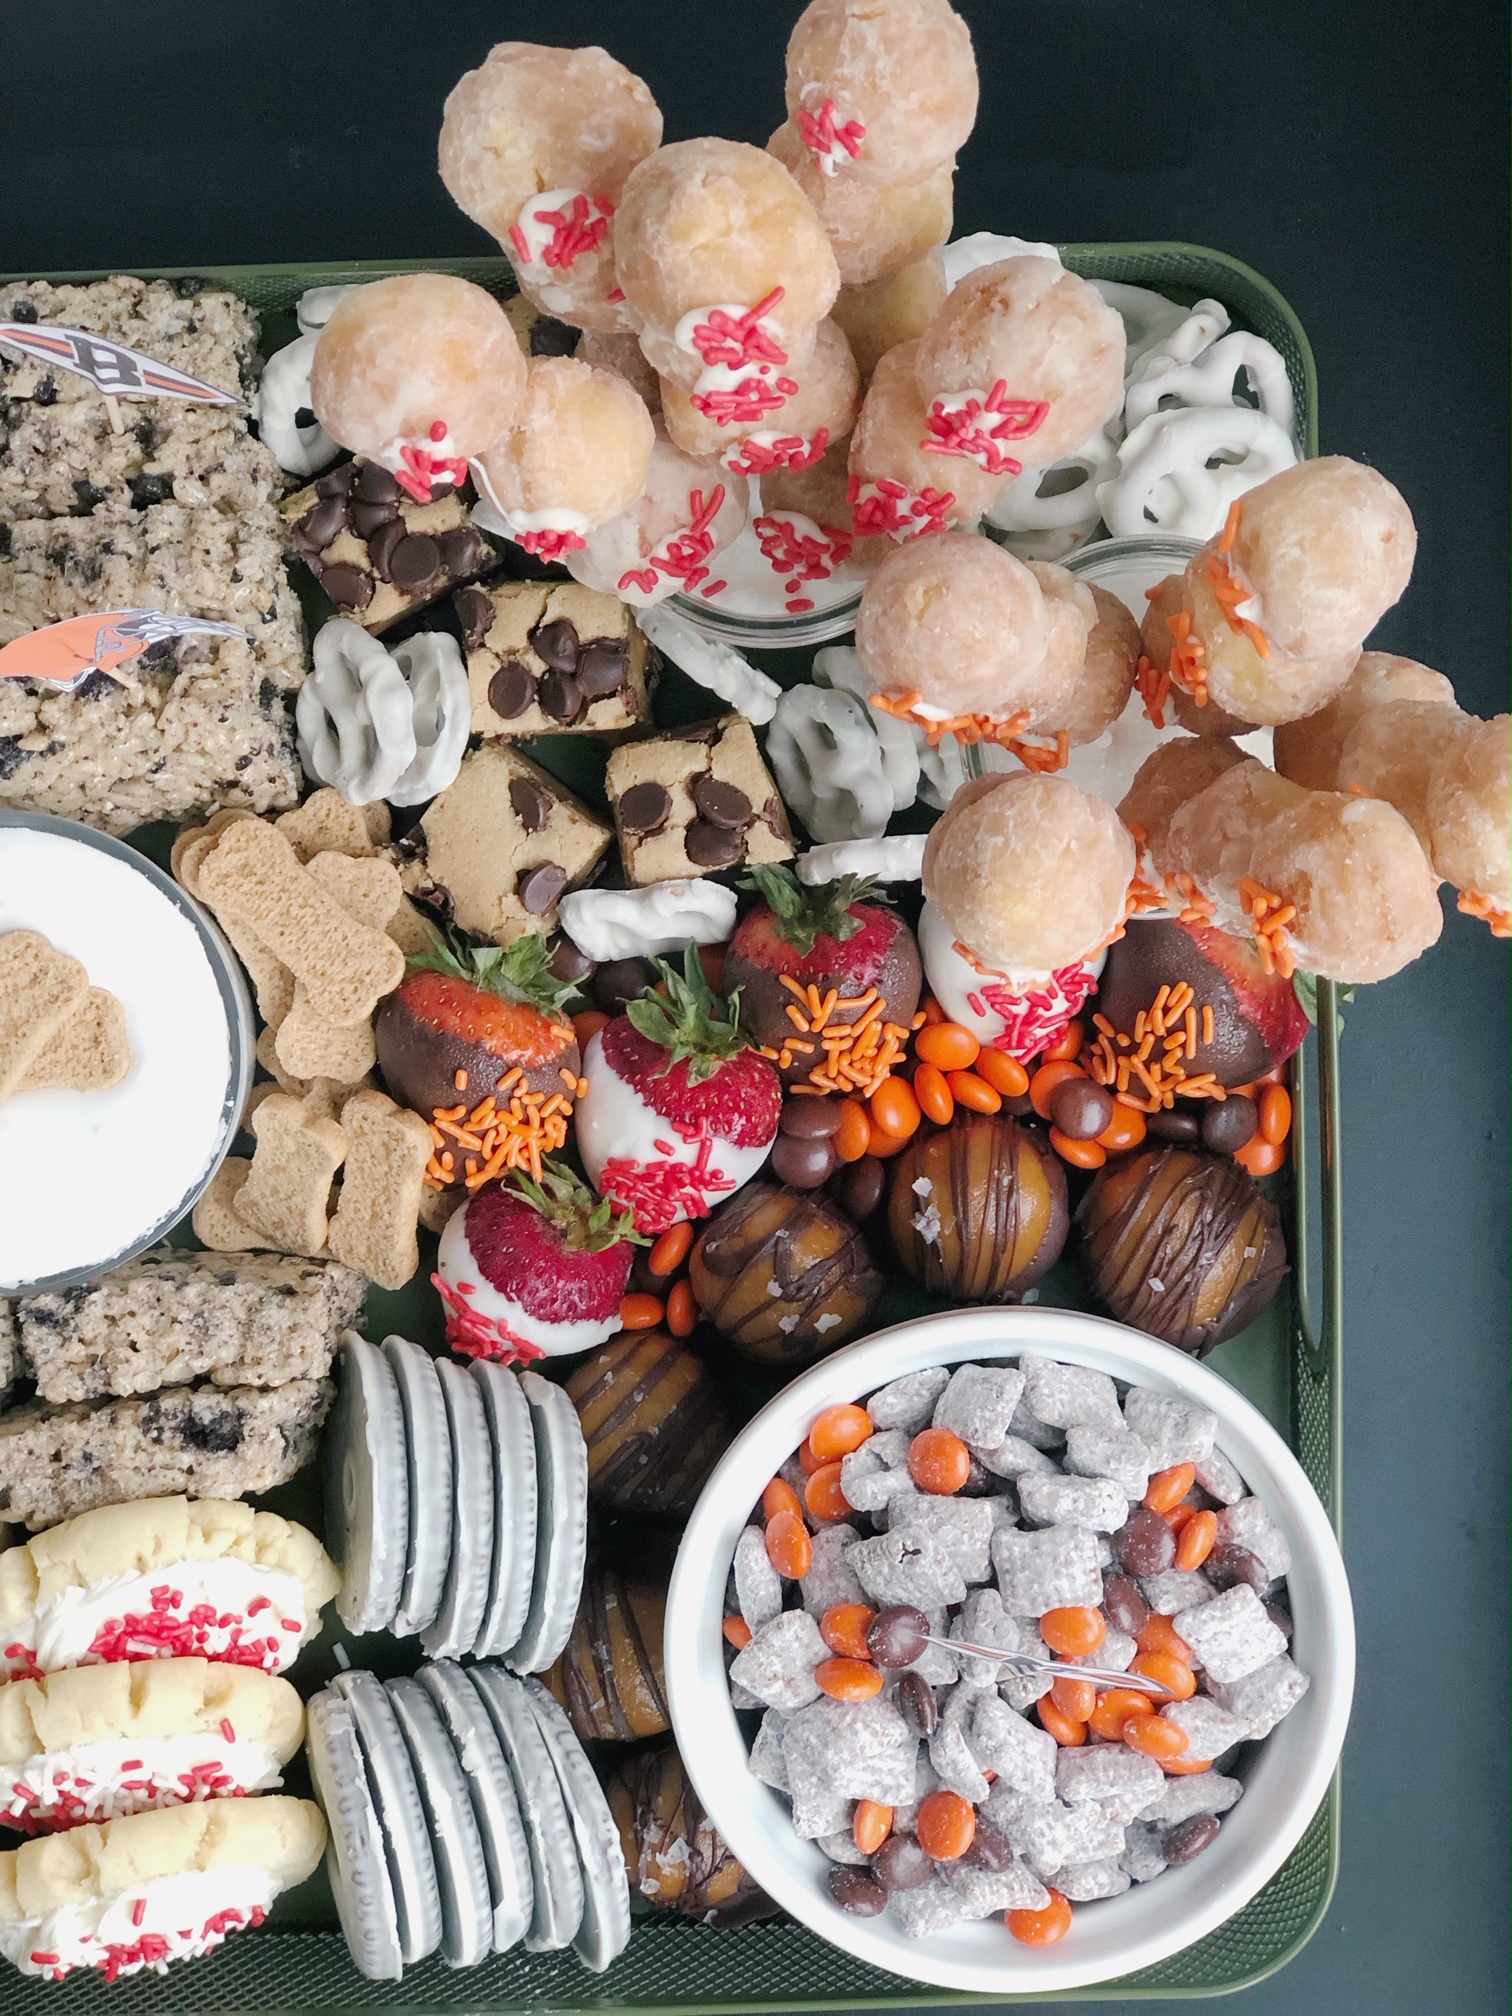
With football season kicking off, I could not resist creating a delicious dessert board packed to the brim with a few popular treats! Do not let the thought of a dessert board overwhelm you, you can easily recreate this spread by making two of my recipes and turning to Heinen’s incredible bakery to pick and choose your own additions!
Cookies & Cream Rice Krispies Treats
Ingredients
- 1 stick unsalted butter
- 6 cups Rice Krispies cereal
- 1 bag marshmallows
- 12 Oreos, crushed
Method
- In a Ziploc bag, add 12 Oreos. Crush the cookies into small pieces with a roller or a heavy glass. Set aside.
- Line a 9×12 baking dish with parchment paper (This will make the treats really easy to remove and cut!)
- In a pot, over medium-low heat, melt the stick of butter. Add all of the marshmallows, stirring continuously until they have melted completely. Turn the heat off.
- Quickly stir in the Rice Krispies cereal and the crushed Oreos. Stir until the cereal and cookies are evenly coated in the melted marshmallow.
- Pour into the baking dish.
- Take a glass, spritz the bottom with nonstick spray and push the mixture down until they have formed a nice cohesive block on the bottom of the baking dish.
- Let cool completely before cutting into desired shape.
Click Here to Print the Recipe For Cookies & Cream Rice Krispies Treats.
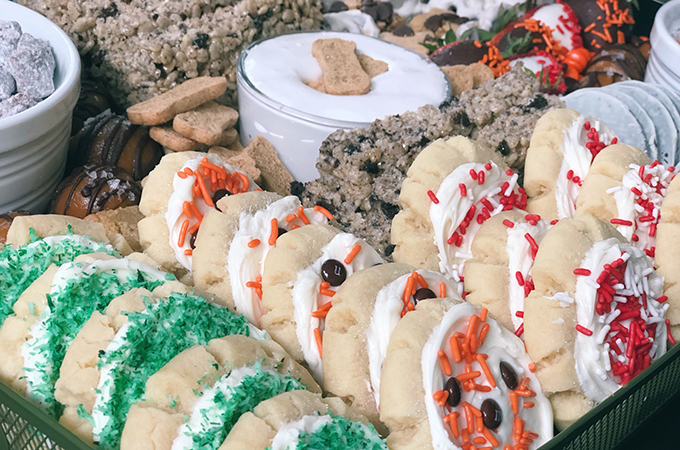
Ultimate Fluffy Sugar Cookies
Ingredients
- 1 cup unsalted, room temperature butter (2 sticks total)
- 3/4 cup vegetable oil
- 3/4 cup powdered sugar
- 1 1/4 cups granulated sugar
- 1/2 tsp. cream of tartar
- 1/2 tsp. baking soda
- Pinch of kosher salt
- 2 large eggs
- 2 tbsp. sour cream
- 2 tsp. vanilla extract
- 5 1/2 cups unbleached all-purpose flour
- 1/4 cup granulated sugar (for pressing the cookies prior to baking)
*Note: You can switch up the flavor by doing 1/2 vanilla extract and 1/2 almond.
Method
- Pre-heat the oven to 350°F. Line two baking sheets with parchment paper.
- Using a handheld mixer, mix the butter, vegetable oil, powdered sugar and granulated sugar together in a large bowl for 3-5 minutes until the mixture is light and fluffy.
- Add the cream of tartar, baking soda and salt. Mix together, just slightly, until incorporated.
- Next, add in the eggs, sour cream and vanilla extract. Mix for a minute. Now, add the flour, a few cups at a time, mixing in between until all flour is absorbed.
- Mix until all ingredients are fully incorporated (about 3 minutes). The batter will be light and fluffy.
- Using a large cookie scoop, roll the dough together into balls. Place each ball a few inches apart on the baking sheet as the cookies will spread as they bake. (6 balls per baking sheet works great!)
- Take a glass, and dip the bottom in sugar. Press each cookie ball down into a flat disc, approximately 1/4” to 1/2”. The edges will crinkle and that is absolutely perfect!
- Bake for 10-12 minutes just until the cookies set. Do not let the edges become golden as that is a sign that they are over baked. Let the cookies cool on the baking sheet for 3 minutes to allow them to set.
- Place on a cooling rack until completely cool and ready to frost!
Frosting? Keep it simple. Pick up your favorite canned frosting! Hey, you’ve done the hard part by whipping up those cookies from scratch. If you’re feeling extra adventurous, here is my go-to buttercream frosting!
Buttercream Frosting
Ingredients
- 2 sticks unsalted, room temperature butter
- 4 cups powdered sugar
- 2 tsp. vanilla extract
- 1 tbsp. heavy cream
Method
- With a handheld mixer, mix together the butter and vanilla until fluffy (about 3 minutes).
- Add in the powdered sugar and mix for an additional 5 minutes, adding the heavy cream halfway through. Your frosting should be fluffy and delicious!
- Feel free to add food coloring to customize your frosting if you would like. Add the food coloring after mixing in the powdered sugar thoroughly, then proceed to whip it up until the color is evenly distributed.
Click Here to Print the Recipe for Ultimate Fluffy Sugar Cookies and Frosting
This next recipe is a mix that is the perfect way to get your kids into the kitchen. It is messy and so fun to make!
Puppy Chow
Ingredients
- 9 cups Chex cereal
- 1 cup dark chocolate chips
- 1/2 cup creamy peanut butter
- 1/4 cup unsalted butter
- 1 tsp vanilla extract
- 1 1/2 cups powdered sugar
Method
- Line a large baking sheet with parchment paper and set it aside.
- Have a gallon size Ziploc bag ready to go.
- In a medium, microwave-safe bowl, add the chocolate chips, peanut butter, vanilla and butter. Microwave in 40-second intervals until the peanut butter has melted. Remove from the microwave and let the residual heat of the bowl and peanut butter melt the chocolate chips. Stir everything together until the chips have all melted.
- Place all of the Chex cereal onto the parchment-lined baking sheet. Pour over all of the melted peanut butter/chocolate sauce. With your hands, or a spatula, toss together the cereal and peanut butter/chocolate sauce until each piece of Chex is fully covered.
- In the gallon bag, add the powdered sugar.
- Add all of the chocolate-covered cereal to the Ziploc bag, and shake until every piece of cereal is covered completely.
- Add M&M’s or Reese’s Pieces to the mix and store in an airtight container until you are ready to serve – if you can stop yourself from eating it all, that is!
Click Here to Print the Recipe for Puppy Chow.
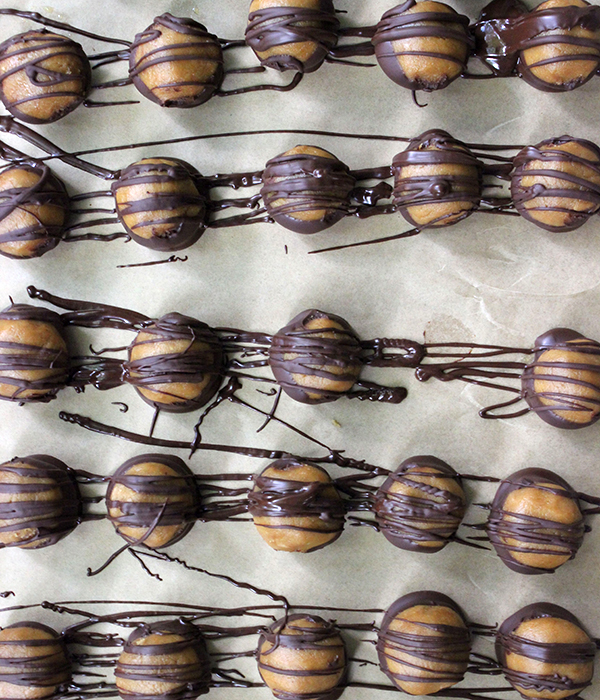
For this last recipe, I’m going to need you to trust me. I’m making Pumpkin Buckeye Balls. Swapping the melted butter in this iconic Ohio dessert for pumpkin will be the talk of the party. These buckeye balls are rich, silky smooth, dunked into dark chocolate and sprinkled with flaky sea salt. The perfect way to end your night on a sweet note!
Pumpkin Buckeye Balls
Ingredients
- 1 1/2 cups creamy low-sodium peanut butter
- 1/2 cup pumpkin puree
- 1 tsp. vanilla extract
- 3 cups powdered sugar
- 10 oz. dark chocolate chips
- Flaky sea salt
Method
- Prepare a large cookie sheet with parchment paper.
- With a handheld mixer, mix together the peanut butter, pumpkin puree, and vanilla in a large bowl.
- Add in the powdered sugar. Mix until fully combined.
- Roll about a tablespoon of the peanut butter dough into a ball and place onto cookie sheet. Continue to get your roll on until all of the dough is used.
- Place balls into the fridge for 1 hour.
- Melt the chocolate chips in a glass bowl in the microwave in 30-second increments, stirring in-between until majority, but not all of the chocolate is melted. It usually takes about 3 intervals.
- Take the glass bowl out and let the warm, melted chips melt the rest of the way.
- Add a pinch of sea salt to the melted chocolate, stir it in.
- Take the peanut butter balls out of the fridge and dip the bottom of each ball into the melted chocolate
- Traditionally, you dip each ball almost to the top, I prefer to dip halfway and finish with a drizzle of chocolate. After you drizzle the top, sprinkle with a pinch of flaky sea salt.
- Place the cookie sheet back into the fridge until the chocolate hardens.
- Keep in fridge until ready to serve, or enjoy them throughout the week!
Click Here to Print the Recipe for Pumpkin Buckeye Balls.