Salt Block 101
This recipe and photos were provided by Sally Roeckell of Table and Dish and were originally published at 365Barrington.com.
For many people, cooking with a salt block may seem foreign, but, in reality, a few simple tips and tricks are all you need to master this cooking method. I’ve created a little “Salt Block 101” for those of you who have not yet ventured out into the world of cooking on salt.
Using a salt block is my favorite way to cook a steak. The unique flavor it gives the meat is amazing. Not too salty and very juicy. What you might not realize is that salt blocks are not only for hot grilling but can also be a way to flavor cold foods.
The beauty of salt cubes is that they are reusable. I used miniature salt blocks that had been in the freezer overnight to chill straight tequila with a bit of lime. It imparts just the right amount of salty flavor.
Whether you’re grilling or chilling, once you cook with a salt block, it will become a kitchen staple. Here are tips and tricks to get started.
Salt Block 101
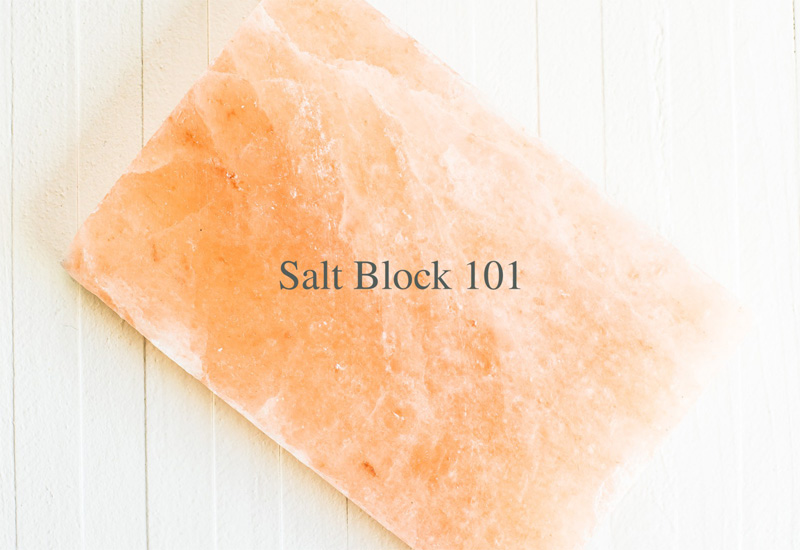
A Himalayan salt block is a large piece of pink salt, hand-carved and formed into a plate. They are carved into rectangles, circles, squares and other neat brick-like shapes. Each plate is one-of-a-kind and can be rough or smooth, but probably a little of both. They are a very unique way to prepare and serve vegetables, seafood, chicken and even cold dishes like raw fish. Not to mention, it will add to the conversation of any dinner party.
The best part is that the block is actually healthy for you! While the salt block has antibacterial properties, it also contains over 84 essential minerals. How does a salt block work? The salt and minerals are absorbed by the food while cooking. This leaves your food tasting perfectly seasoned and not over-salty while adding extra nutritional value from the essential minerals.
Step 1: Grab yourself a starter-size 8 x 12 or 8 x 8 x 1.5 inch salt block. The size of the block will depend on the size of the crowd you are feeding.
Step 2: Go slowly! Slow and steady definitely wins the race, especially the first few times you use your block.
- When heating your salt block, place it on a cold (unheated) grill.
- 20 minutes on low
- 20 minutes on medium
- 20 minutes on high
- To know when your block is heated through, sprinkle a few drops of water on the block. If they sizzle vigorously and disappear immediately, the block is ready.
- You can also hold your hand two or three inches above the block. If you can’t keep it there for more than 5 seconds, it’s hot enough!
- If you don’t trust your senses, or if you love high-tech gadgets, this is the perfect time to get an infrared thermometer. It reads the temperature of your block for you. You’re looking for about 500°F.
- Once it reaches this temperature, you’re ready to throw some steak on your block.
Step 3: Simply place your food of choice on the block. It’s that simple!
Step 4: Once you see the sear happening on the bottom side, give it a flip. Use a thin metal spatula or tongs. No plastic!
- Cook time:
- 1-2 minutes per side for thin slices of steak or seafood.
- 4-5 minutes per side for thicker cuts of meat, like rib eyes or burgers.
Step 5: When the steak is done, remove from the block with your metal spatula. Once heated, you can leave the block on the burner and continue to cook with it for several hours. What else can you cook on your salt block? Try grilled asparagus, salt-crusted Scallops, burgers, tuna steaks and more.
Step 6: Cool it for at least one hour. Leave it on the cooktop, turn off the heat, and let it stand until cool to the touch. Once cooled, you can begin to clean it for the next use.
- Cleaning your salt block
- Rinse with hot water.
- Moisten a sponge or scouring pad. Don’t use soap.
- Scrub the block to remove any stuck-on bits.
- Wipe clean with a dry towel.
- Remember, a salt block has antimicrobial properties. By its very nature it destroys microbes and preserves food
Step 7: Leave it alone to air dry, or dry it with a clean cloth. You really can store it anywhere! I have mine in my pantry on the cookbook shelf on it’s side. Just don’t leave it outside on the grill or put it in the dishwasher!
Salt blocks turn opaque after being heated and may develop fissures or large cracks. They may also take on color from the proteins cooked on it. Do not worry about these things; consider them beauty marks.
Now that you know the basics, it’s time to try see and taste the magic of cooking with a salt block for yourself. Get started by making summer-friendly Salt Block Sliders with a Cheesy Center and Caramelized Onions, or if you’re in the mood for something cool, you can never go wrong with a Salt Block Ice Cream concoction.