DIY Upcycled Bottle Watering Bulb for Houseplants
This post and photography were adapted from DIY: Upcycled Bottle Watering Bulb for Houseplants originally published on the Wild Interiors blog.
If you’re heading out for a vacation and don’t want to hire a plant sitter, you can make sure your indoor foliage plants get the water they need while you’re away by using a watering bulb! These clever little inventions are great for providing extra water in a time-release method, and they’re available for sale online or in your local garden store in a variety of colors and materials.
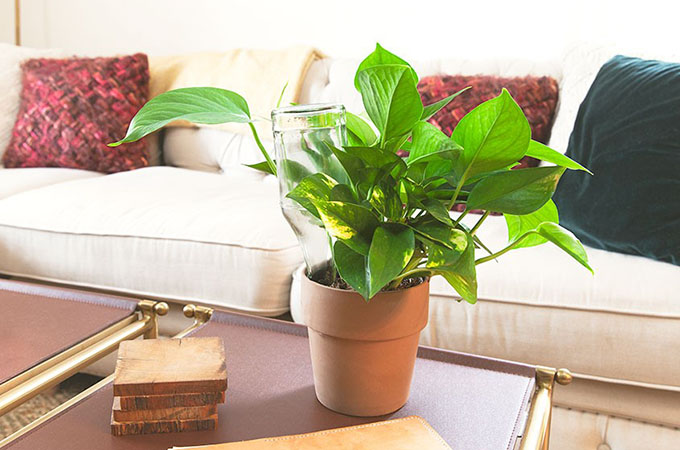
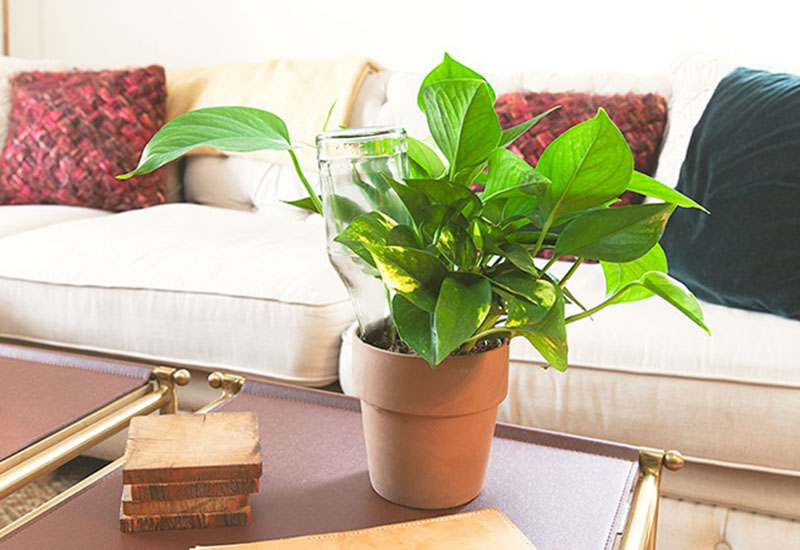
But of course, if you’re crafty, you can make your own! This quick DIY tutorial uses a Tabasco sauce bottle, but any small bottle with a narrow neck will do. Larger plants can use larger bottles, but for Wild Interiors’ 5” foliage, these smaller containers are just right.
You will Need:
- Small bottle with long, narrow neck (such as a hot sauce bottle, mini wine bottle, etc.)
- Hot soapy water
- Vinegar (to remove the label)
- Tissue paper or acrylic paint
- Mod Podge or white glue
Step 1: Start by thoroughly washing your bottle to make sure there are no leftover bits of whatever used to be inside. You can run it through the dishwasher or wash by hand. A pipe cleaner can help if the neck is very narrow!
Step 2: Remove the labels by soaking in hot soapy water mixed with white vinegar (about two parts water to one part vinegar) for about a half an hour. The acid from the vinegar will help remove glue residue. If you have stuck-on labels even after a vinegar soak, make a paste with equal parts cooking oil and baking soda to scrub off the rest. Wash thoroughly and pat dry.
Step 3: Decorate the wide portion of your bottle (not the neck), if you desire. This part is optional – your bulb will be functional without any additional beautification! Use acrylic or another non-toxic paint to add designs, or brush a glue or Mod Podge mixture over colorful pieces of tissue paper for a stained glass effect. Let it dry thoroughly. Since the end result will be used to hold water, you want the decorations to be well sealed and waterproof before you get them wet again.
Step 4: Fill with water. Run a slow stream of water from your faucet or use a small funnel to fill the bottle.
Step 5: Use a pencil or other narrow implement to create a narrow hole about 2-3” deep in your soil. Invert the filled bottle and gently guide the neck all the way into your plant’s soil.As your soil dries out, more water will be absorbed from your new watering bulb and your soil will stay moist for the week!
It’s best for your plant to stick to its regular care routine of thorough waterings, but if you’re going to be out of the house on vacation for a week or two, this DIY watering bulb can help your plants stay hydrated until you get back. Just be sure to hand wash it thoroughly between uses and use a pipe cleaner to get any bits of dirt out so it doesn’t grow any harmful bacteria.
Click Here to Print Wild Interiors’ DIY Upcycled Watering Bulb Instructions.